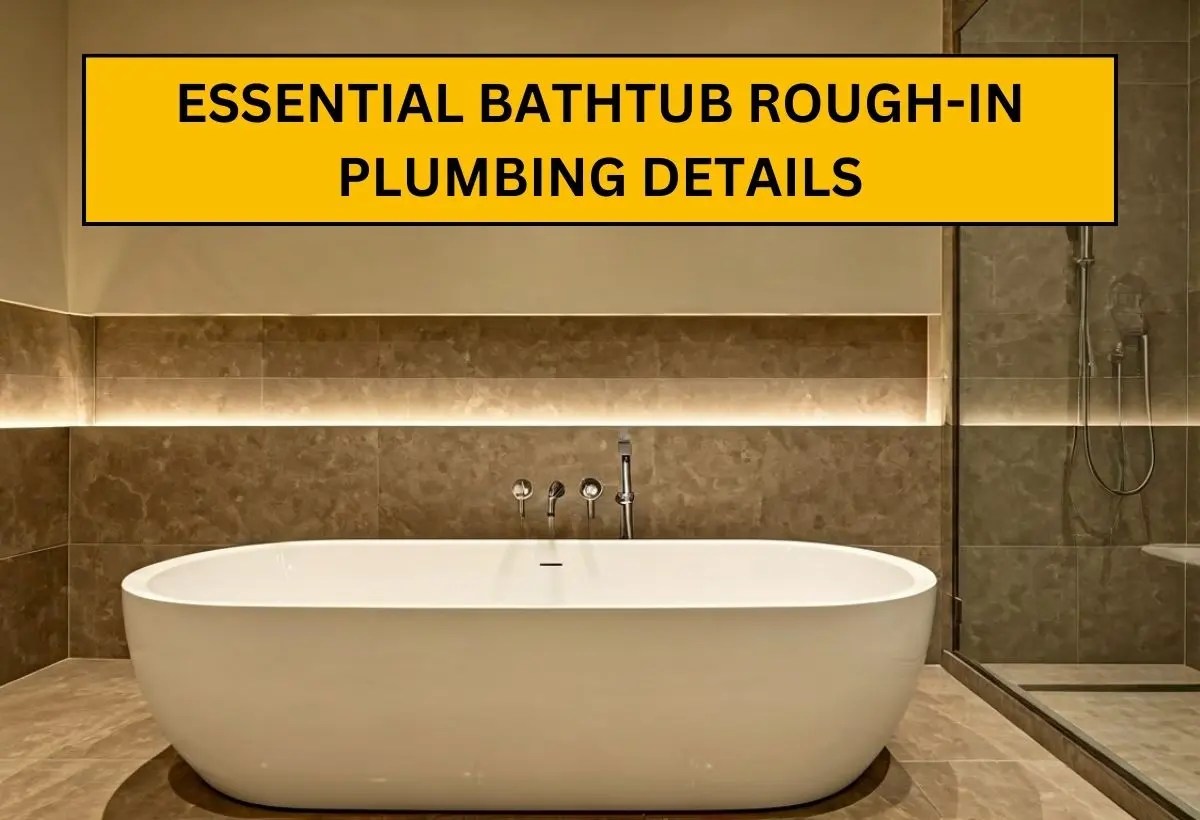
Starting a bathroom renovation means dealing with bathroom plumbing. One important part of this is understanding bathtub rough-in plumbing. This step is vital. It is done early in the construction or renovation to set up the plumbing system before the bathtub goes in. Whether you are a DIY lover or a homeowner wanting to learn how it works, this guide gives helpful information about bathtub rough-in plumbing. It will help you create a bathroom that looks good and works well.
What Is Bathtub Rough-In Plumbing?
Bathtub rough-in plumbing is the first step in setting up your bathtub’s plumbing system. This stage involves installing all the necessary pipes, drains, and water lines before the bathtub itself is put in place. It’s like building the foundation for your plumbing, making sure everything works smoothly once the project is finished.
Getting this step right is crucial. Mistakes here can lead to leaks, poor drainage, or expensive repairs later. The process requires careful planning and accurate installation to match the design and location of your bathtub.
Here’s what happens during rough-in plumbing:
Drainage Work: Setting up the drain pipe and p-trap to handle wastewater properly.
Water Line Installation: Connecting hot and cold water lines to supply the bathtub.
Vent Pipe Connection: Adding vents to allow proper airflow and prevent clogs.
Precision Placement: Aligning all plumbing to match the specific dimensions of your bathtub.
Key Components of Bathtub Rough-In Plumbing
1. Drainage System
The drainage system is the backbone of your bathtub’s plumbing. It handles the flow of wastewater, keeping your bathroom clean and functional.
Drain Pipe: This pipe carries water from the tub to the sewer system. For smooth water flow, the pipe must be positioned at the correct slope.
P-Trap: A small, U-shaped pipe that holds water to block sewer gases from entering your bathroom. Installing the p-trap correctly helps prevent unpleasant smells and slow drain holes.
Every connection must be watertight to avoid leaks. Proper alignment also prevents clogs from disrupting your system.
2. Water Supply Lines
Hot and cold water lines deliver water to your bathtub’s faucet. These lines need precise spacing and secure connections to work correctly.
Hot Water Line: Carries heated water from your water heater to the bathtub. Insulating this line can help maintain the water temperature.
Cold Water Line: Brings fresh, cool water to the faucet.
The lines must line up perfectly with the faucet setup. Any loose connections or misalignment could lead to uneven water flow or leaks.
3. Vent Pipes
Vents play a crucial role in keeping your plumbing system functional. They allow air to flow through the pipes, preventing suction that could slow drainage or trap air in the system.
Keeps Sewer Gases Out: Vents stop foul odors from backing up into your bathroom.
Maintains Smooth Drainage: Proper venting helps water flow freely through the pipes.
Vents need to be installed to meet building codes. Poor vent placement can lead to slow drains and unpleasant smells.
4. Tub Dimensions
No two bathtubs are exactly alike, so their dimensions must guide the rough-in plumbing process. Accurate measurements are essential to align everything correctly.
Freestanding Tubs: Often require exposed plumbing, making exact alignment critical for both function and appearance.
Built-In Tubs: Plumbing for alcove or drop-in tubs must fit within the framework, staying hidden from view.
Jetted Tubs: These require additional plumbing for jets and pumps, making the rough-in stage even more complex.
Planning Your Bathtub Installation
Before you start any plumbing work, it’s important to plan carefully for a successful bathtub installation. You need to choose the right bathtub model that fits your bathroom layout. This also means figuring out where to place the plumbing fixtures.
Measuring accurately in the planning stage helps you avoid expensive mistakes and makes sure the bathtub fits in your space. You should also think about where the existing plumbing lines are and if you need to move them.
Measuring and Mapping Out Space Requirements
Before you install a bathtub, measure your bathroom carefully. Check the layout and think about things like walls, doors, and windows. Also, pay attention to the floor height. This will help you figure out how to set up the drain and other plumbing parts.
Make sure to leave a proper front buffer. This is the space between the front edge of the tub and the other fixtures or walls. It keeps the bathroom easy to move around in and makes sure you can access everything.
Good measurements help you pick the right size tub. They also show you where to place the drain, water supply lines, and the tub spout. This makes your bathing time more relaxing and stops any problems with doors or other bathroom items.
Remember, taking accurate measurements is key for a good bathtub setup. Spend time planning and ask a professional for help if you need it.
Selecting the Right Bathtub Model for Your Home
With so many bathtub designs to choose from, picking the right one for your bathroom can be hard. First, look at the size of your bathroom and where the bathtub can go. Then, think about the style of your bathroom. Pick a bathtub that matches your current décor. If you want something modern, there are simple and stylish bathtubs.
Next, think about your budget and what features matter most to you. Decide how you want to install the bathtub. Some tubs fit into walls and are for alcove installations. Others, like freestanding or drop-in bathtubs, need different framing and plumbing setups.
Finally, look at where the faucet and spout will be. This can affect where you place the water supply lines. After you think about all these details, you can choose the best bathtub for your needs and what you like.
Detailed Guide on Bathtub Rough-In Dimensions
Understanding the rough-in dimensions of your bathtub is very important for a successful installation. These dimensions are the exact measurements needed for all plumbing parts. They make sure that everything lines up properly with your bathtub model and help avoid issues later on.
The space from the drain to the wall and the height of the water supply lines matter a lot in making sure everything works well. Keep in mind that these measurements can change a bit based on local building codes in Dutchess County. It is a good idea to check with a licensed plumber to be sure.
Standard Rough-In Dimensions for Bathtubs
For a standard bathtub installation, familiarizing yourself with the typical rough-in dimensions is a good starting point. Keep in mind that these measurements may vary slightly based on your specific bathtub model and local building codes. Consulting your bathtub manufacturer’s instructions and a licensed plumber will ensure accurate and code-compliant installation.
| Measurement | Standard Dimension | Description |
| Drain Distance from Back Wall | 15 inches | Distance from the finished wall to the center of the drain opening. |
| Water Supply Line Height | 18-20 inches | Height from the finished floor to the center of the hot and cold water supply valves. |
| Tub Spout Height | 4 inches | Vertical distance between the top of the tub spout and the overflow drain, typically 4 inches. |
| Drain Access | 12×12 inches | A minimum 12×12-inch access panel should be framed for future access to the drain trap. |
| Centerline | N/A | The center of the tub from left to right. The drain, overflow, and faucet will be centered here. |
It’s crucial to remember that these are just general guidelines. Always follow the manufacturer’s instructions and local building codes for precise measurements and installation guidelines. By understanding these standard dimensions, you can ensure a smoother and more successful bathtub installation.
Adjusting Dimensions for Specialized Bathtub Models
While the regular bathtub sizes work for most homes, special bathtubs often need different setups for their needs. For example, whirlpool tubs, clawfoot tubs, and walk-in tubs require careful placement of the water supply line, the drain setup, and the space they take up.
When using these special tubs, it is important to look closely at the maker’s instructions. Talk to a skilled plumber to go over any needed changes. They can make sure everything is set up correctly and help avoid future plumbing problems that might come from wrong dimensions.
Keep in mind that even small changes from the maker’s guide can cause leaks, problems with drainage, or trouble fitting the parts correctly. So, always focus on getting it right and ask for help from a professional if you have questions.
Types of Bathtubs and Their Rough-In Needs
Freestanding Bathtubs
Freestanding tubs are a stylish centerpiece for any bathroom, but they require careful planning. The drain and water lines must be positioned perfectly, as the plumbing is often visible. Proper alignment not only keeps the tub functional but also maintains its sleek, modern appearance.
Built-In Tubs
Alcove and drop-in tubs are popular for their space-saving design, but their rough-in plumbing must fit snugly within the tub’s framework. The drain and water lines need to align with the pre-drilled openings to avoid issues during installation. A well-executed rough-in makes these tubs look and work seamlessly.
Jetted and Whirlpool Tubs
Luxury tubs like jetted or whirlpool models come with added plumbing needs. They require dedicated water lines for the jets and pumps, along with electrical connections to power the system. Careful planning and placement are key to enjoying all the features without complications.
Clawfoot Tubs
Clawfoot tubs bring vintage charm to a bathroom, but their exposed plumbing requires precision. The drain, water lines, and visible fixtures must be perfectly aligned to match the tub’s design. Getting these details right is essential to achieving the classic look without functional hiccups.
Step-by-Step Installation Process
1. Planning and Preparation
A successful bathtub rough-in starts with solid preparation. Here’s how to lay the groundwork for a smooth process:
Measure Your Space: Carefully measure where the bathtub will go. Mark spots for the drain, water lines, and vent pipes based on the tub’s specs.
Review Building Codes: Check local codes to make sure your plans meet all requirements, like proper drainage slopes and vent placements.
Gather Tools and Supplies: Get everything ready, from PVC pipes and fittings to pipe cutters, sealants, a level, and measuring tape. Using good-quality materials now can save you a headache later.
Taking extra time to plan and organize reduces mistakes and sets you up for a problem-free installation.
2. Installing the Drain Pipe and P-Trap
The drain system is critical for keeping wastewater flowing smoothly.
Align the Drain Pipe: Position the pipe so it lines up perfectly with the bathtub’s drain outlet. Misalignment can lead to leaks or improper drainage.
Install the P-Trap: Place the U-shaped p-trap beneath the drain. This pipe holds water to block sewer gases from coming into your bathroom.
Create the Right Slope: Make sure the drain pipe slopes downward about ¼ inch per foot to allow water to flow freely into the main sewer line.
Seal Connections: Use PVC cement or similar sealants to make watertight joints. Once everything is connected, test the setup for stability.
3. Running Water Supply Lines
Properly installed water supply lines are essential for consistent hot and cold water flow.
Set Up the Lines: Run pipes for hot and cold water from your main supply to the tub area. Leave enough spacing to fit the faucet or tub filler.
Choose Durable Materials: Use reliable options like PEX or copper piping to minimize leaks or future problems.
Secure the Fittings: Tighten valves and fittings with pipe thread tape or sealant to make sure they’re leak-free.
Test the Pressure: Temporarily cap the pipes, pressurize them, and inspect for weak points. Fix any leaks before moving on.
4. Connecting Vent Pipes
Vent pipes play a key role in maintaining proper airflow and preventing sewer gas buildup.
Attach to the Drainage System: Connect the vent pipes to the drain lines so air can flow through the system. This helps prevent clogs caused by suction.
Follow Code Requirements: Make sure vents are placed correctly and extend to the required height above the roofline.
Seal Joints: Use proper sealants to prevent air leaks at all pipe connections. Even small gaps can reduce the effectiveness of the venting.
Check Airflow: Verify that the vents allow air to flow freely and keep the drainage system functioning smoothly.
5. Testing the System
Testing is the final step to catch any issues before completing the rough-in.
Check for Leaks: Turn on the water supply and carefully inspect all joints, seals, and connections for drips or leaks.
Test Water Flow: Run water through the system to confirm that it flows steadily to the tub without interruptions.
Inspect Drainage: Pour water into the drain to ensure it flows away quickly and doesn’t pool. Adjust slopes or connections if needed.
Fix Problems: Address any misalignments, weak seals, or other issues now to avoid complications later in the installation.
Common Challenges in Bathtub Rough-In Plumbing
Misaligned Pipes
One of the biggest challenges in rough-in plumbing is getting the pipes to align with the tub. Incorrect measurements can lead to pipes that don’t fit properly, causing delays and extra expenses to fix.
Skipping Vent Pipes
Vent pipes are often overlooked, but they play a critical role in keeping the drainage system working smoothly. Without proper venting, you could face slow drains or unpleasant odors in the bathroom.
Ignoring Building Codes
Building codes exist for a reason, and failing to follow them can lead to costly fines or the need for adjustments later. It’s crucial to follow local regulations during the rough-in process to avoid unnecessary setbacks.
Forgetting to Test the System
Skipping system tests is a mistake that can result in hidden leaks or misaligned pipes going unnoticed until they cause bigger problems. Always test the system to ensure everything is functioning as it should before moving on to the next steps.
Maintenance After Installation
Installing a bathtub is just the beginning. Proper care and upkeep are essential to keep your plumbing in top shape over time.
Routine Inspections
Check for leaks or wear and tear, especially around pipe connections and the drain. Catching small issues early can save you from dealing with larger repairs later.
Clog Prevention
Use drain strainers to catch hair and debris before they go down the drain. This simple step can help prevent clogs and keep water flowing freely.
Professional Maintenance
Schedule regular check-ups with a plumber. A professional can spot minor problems that might go unnoticed and make repairs before they turn into costly issues.
Why Choose Pro Elite Plumbing for Bathtub Rough-In?
Decades of Experience You Can Count On
For over 20 years, we’ve handled all kinds of bathtub rough-in plumbing projects across Dutchess County. From straightforward installations to more intricate setups like jetted or clawfoot tubs, we’ve done it all. Our experience means we know how to deliver reliable results every time.
Licensed and Insured Professionals
Our team is fully licensed, certified, and insured. We stay up to date with local codes and industry standards, so you can trust us to handle the job safely and correctly. Your project will be in the hands of skilled experts who take pride in their work.
Honest Pricing with No Surprises
We believe in being upfront about costs. Before starting any work, we provide a detailed quote that’s clear and easy to understand. No hidden charges. No last-minute fees. Just fair pricing and quality service you can rely on.
A Customer-First Mindset
At Pro Elite Plumbing & Heating, we treat your home like it’s our own. From the first consultation to the final cleanup, we focus on your needs and make sure you’re happy with the results. We’re not done until you’re satisfied. Simple as that.
Ready to Get Started on Your Bathtub Rough-In?
Don’t wait to bring your bathroom project to life. Call Pro Elite Plumbing & Heating today at (845) 498-0976 or book online to schedule your consultation. Let our experienced team handle the rough-in plumbing so you can enjoy a seamless installation and a bathroom you’ll love!
Frequently Asked Questions
What is the standard Bathtub Rough-In Dimension?
The normal size for setting up a regular alcove bathtub is 15 inches. This is measured from the finished wall to the center of the drain, assuming a standard slab is used. However, this distance can change based on the model of the bathtub and its layout needs.
How do I choose the right bathtub model for my bathroom?
Choosing the right bathtub depends on a few key things. First, think about your bathroom layout. Look at the space you have. Next, decide on the style of the tub you want, like freestanding, alcove, or drop-in. Also, consider any fixture needs. This will help you make a good choice.
Can I install a bathtub rough-in plumbing by myself?
Installing rough-in plumbing for a bathtub can be tricky. It requires a good understanding of plumbing. If you are not sure about how to do it, it’s best to talk to a licensed plumber. This will help you avoid problems and follow the correct codes.
What are the local building codes in Dutchess County related to bathtub installation?
For rules about installing bathtubs in Dutchess County, you can check the Dutchess County Department of Planning and Development website. You can also talk to a licensed plumber who knows the local plumbing, vent, and drainage rules.
How do ventilation and discharge affect my showerhead?
Good ventilation prevents moisture buildup that can impact your showerhead. If the discharge isn’t flowing properly, it may lead to low water pressure or uneven water flow. Regular maintenance can fix these issues and keep your shower working perfectly.
What tools are needed for bathtub rough-in plumbing?
To get the job done, you’ll need tools like a measuring tape, pipe cutters, PVC cement, a wrench, and a level. These basics help with setting up the water lines, drains, and vent pipes accurately. Professional plumbers often use advanced tools to ensure precision.
How long does it take to complete bathtub rough-in plumbing?
Most rough-in plumbing jobs for bathtubs can be done in a few hours or by the end of the day. The exact time depends on the bathroom layout and the complexity of the plumbing. Adding features like jets or moving the location may take longer.
What’s the best material for bathtub pipes?
PVC is great for drain pipes because it’s strong and doesn’t rust. For water supply lines, many people use PEX or copper, depending on what works best for the project and what local codes allow. Each material has its own benefits.
How much does it cost to rough in plumbing for a bathtub?
Costs can vary, but you’re looking at an average range of $500 to $1,500. Things like the type of tub, the plumbing complexity, and labor rates will impact the total price. A simple setup will typically be less expensive.
Can I move the location of my bathtub during a remodel?
Yes, it’s possible to move your bathtub, but it involves adjusting the water lines, drainpipes, and vents. This can make the project more complex and may increase the cost. Consulting a professional plumber will help you figure out what’s feasible and worth the effort.